INSTALLATION

STEP 1
Attach the Velcro straps at the bottom of the MotoJug bag to your Rear Passenger Footpegs. The Velcro straps are going to be long. You can cut them or leave them it doesn't matter as long as they are attached to the Footpeg.

STEP 2
Attach one of the supplied 3ft security straps through the upper most vertical loop on the bag to somewhere on your motorcycle. Unfortunately every motorcycle is different so where you attach the security straps will differ from bike to bike. Some of the most common areas are the Rear Passenger Grab bar or around frame components. Some motorcycles you may need to remove the seats to access a frame support point . See step 3 for better photos

STEP 3
Attach the second strap that came with your MotoJug around bag on the lower part of the verticals loops sewn on your bag. There are 2 loop locations on the bag. A higher and a lower. You only need one and you can determine that by placing your cooler in the MotoJug bag and seeing where best to secure the strap. Once again the strap will be long. The best place I have found to secure this center part of the MotoJug is either the Footpeg hanger or the subframe. Hard to tell in the photo but I secured mine on the footpeg hanger in this photo
STEP 4
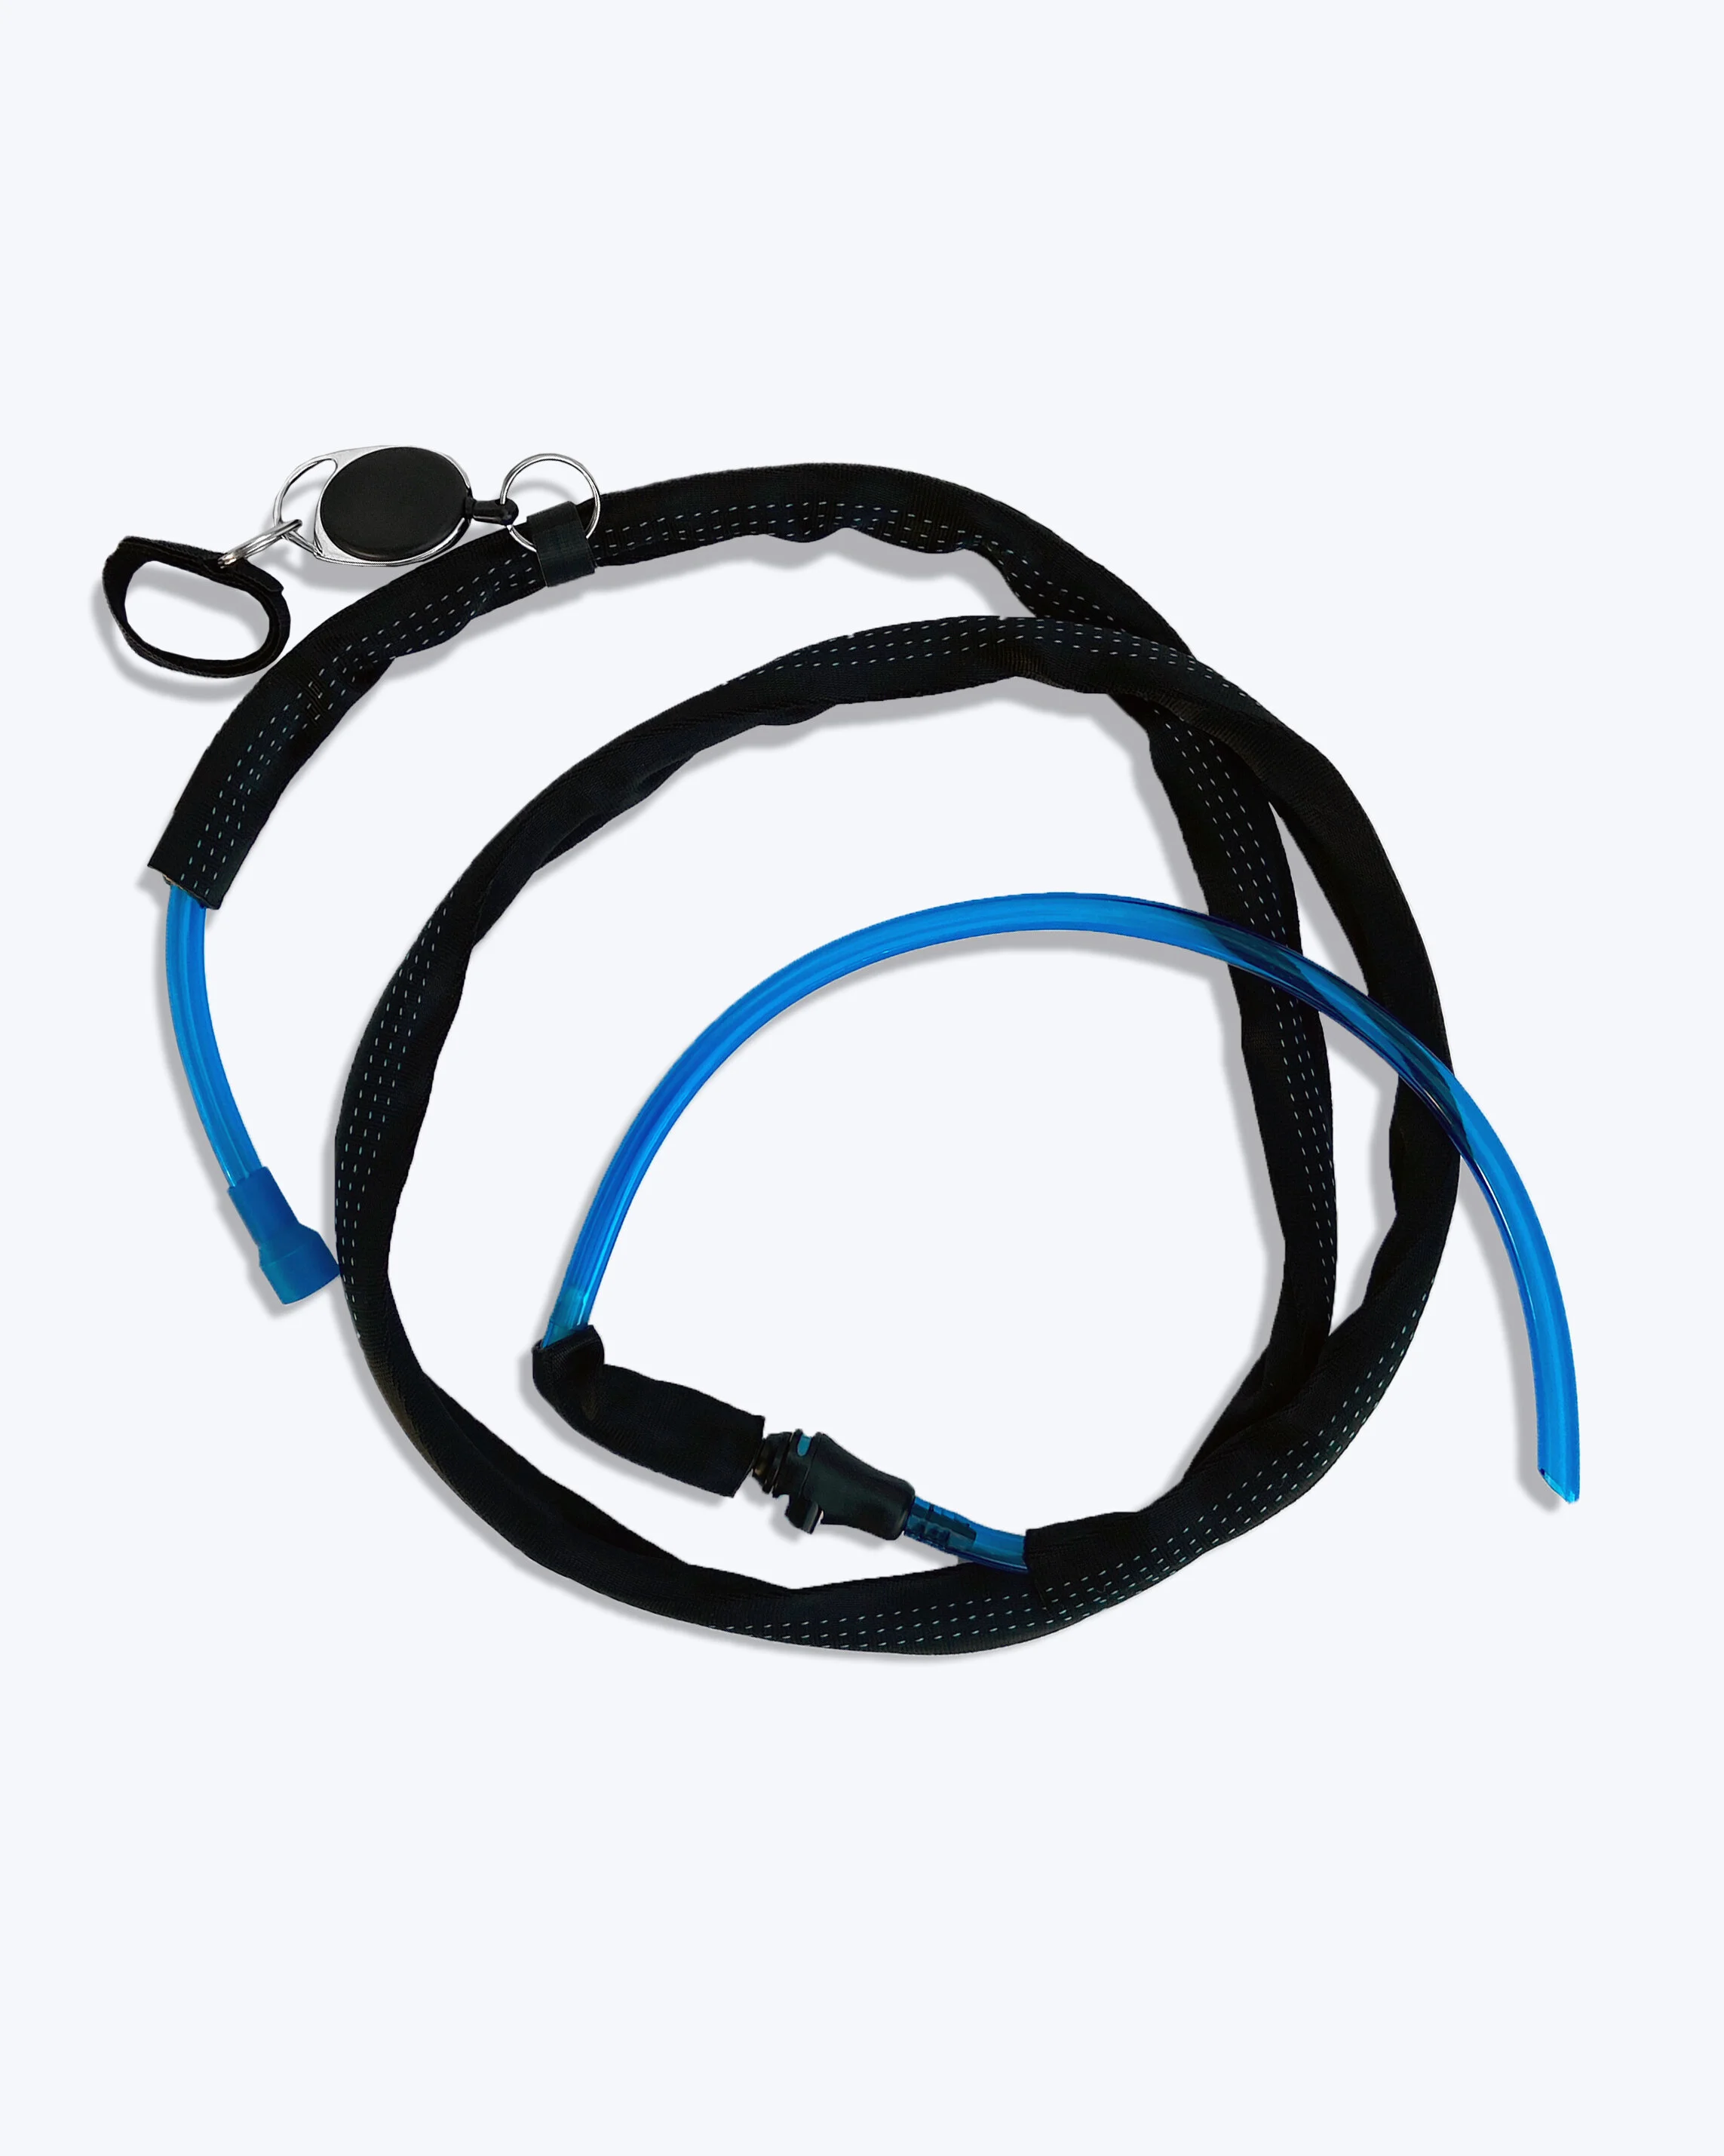
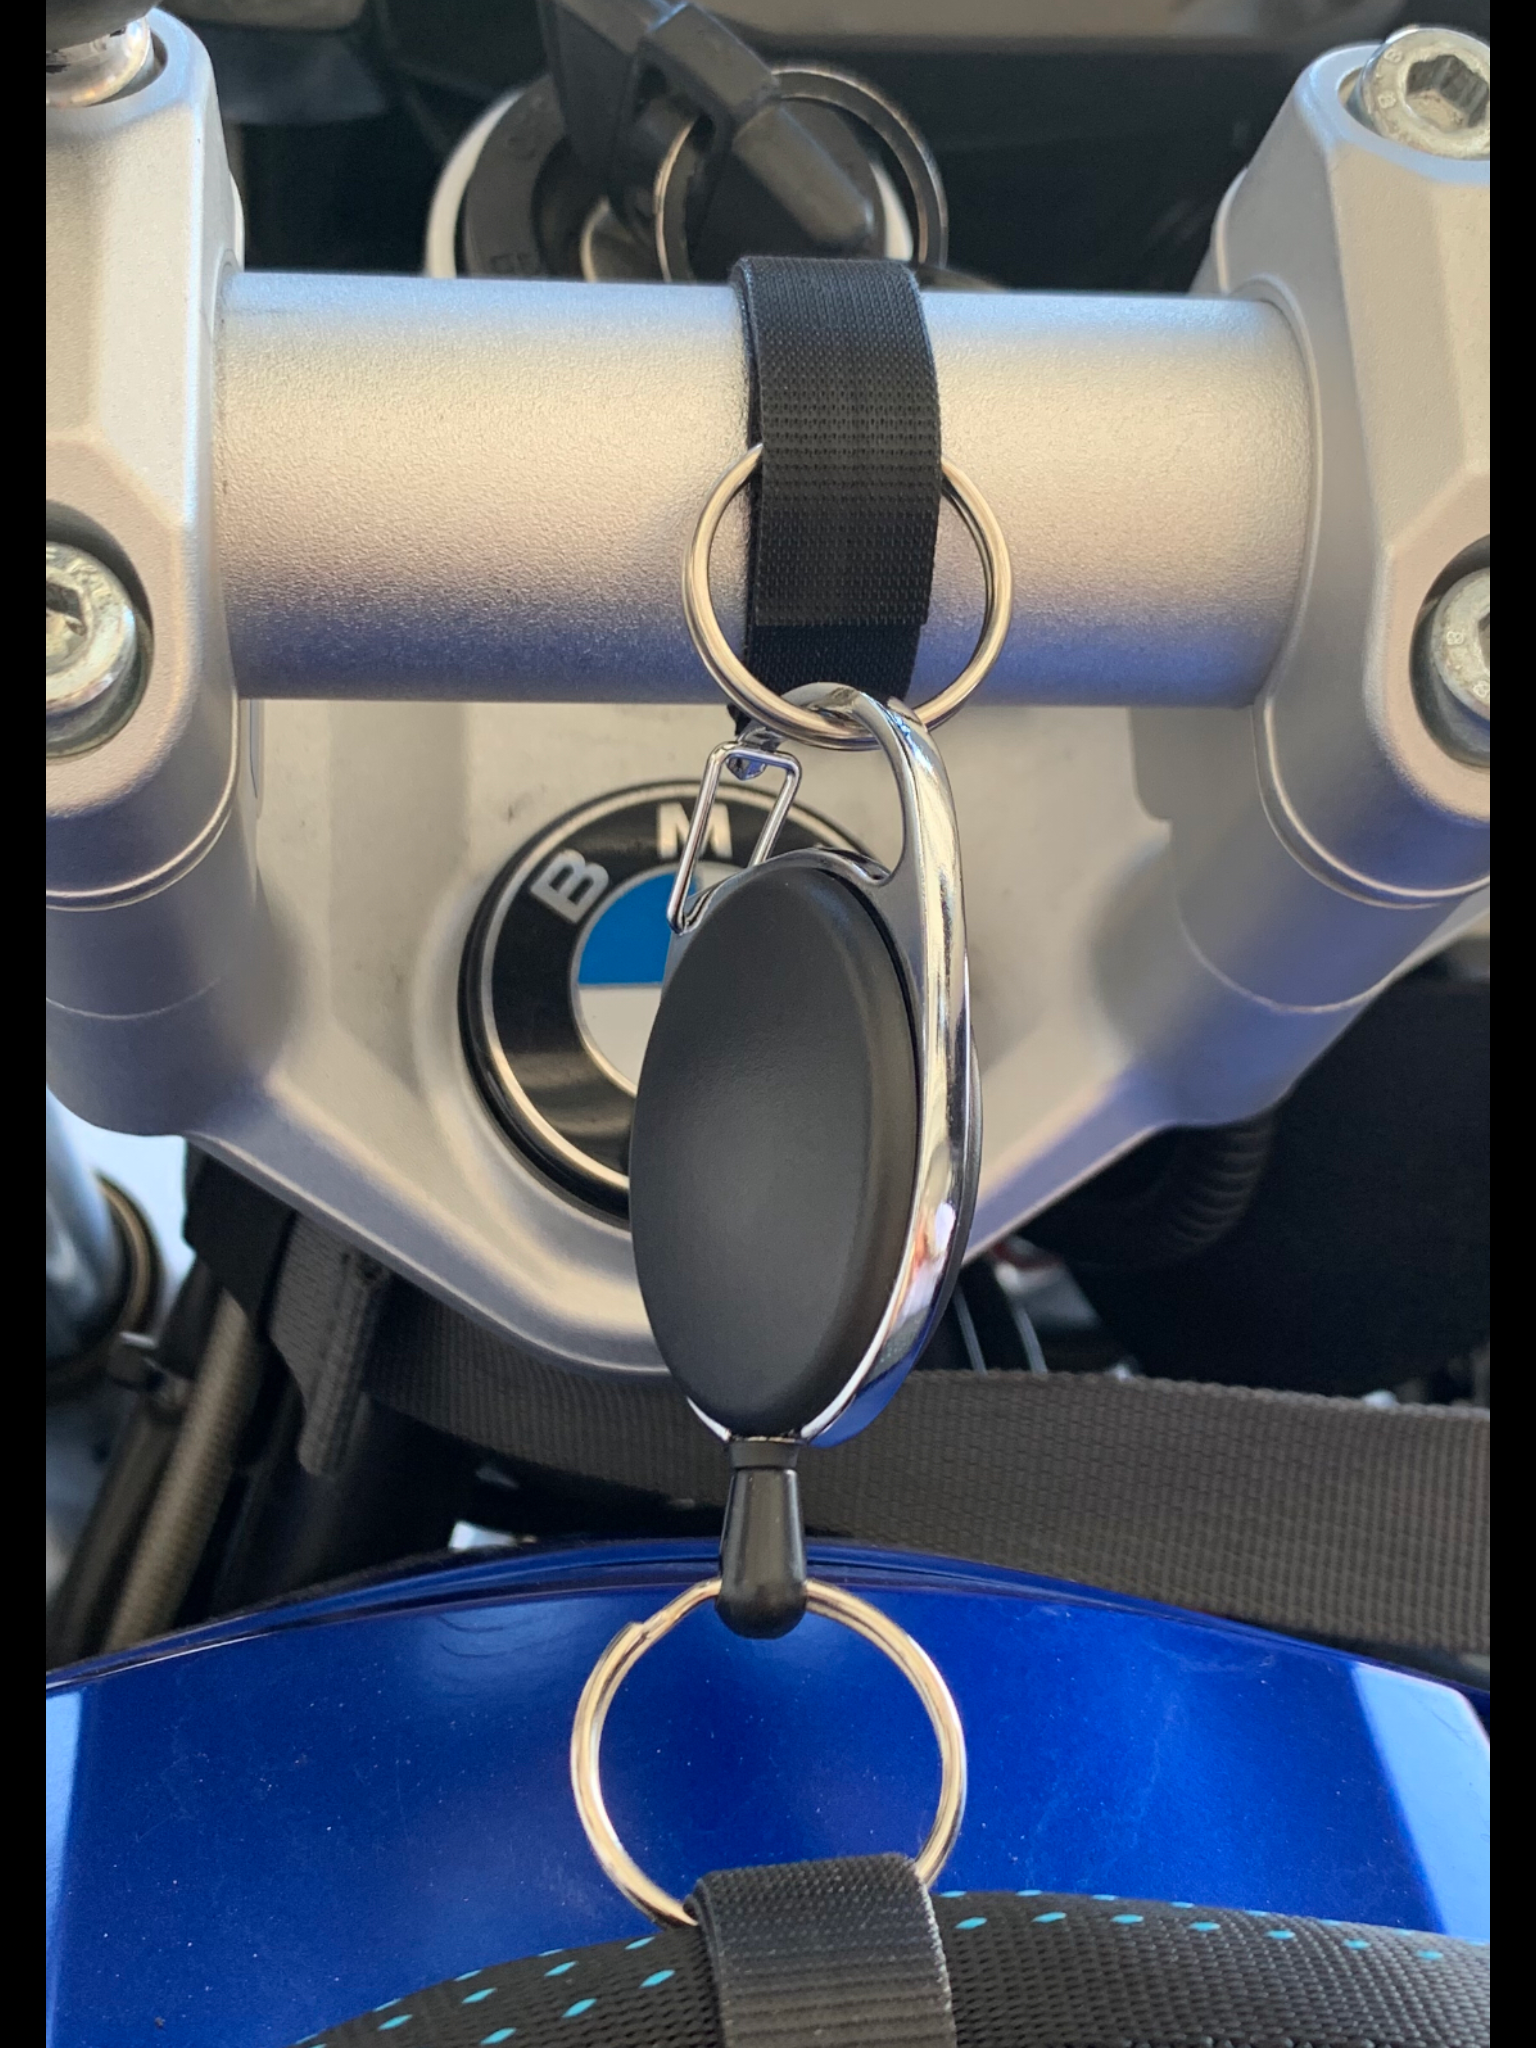
The last step is routing your Hydration line. There are many ways to do this. I personally like to run it along side the bike, below the seat and across the tank to my leg. I've seen some people run it on the outside of their leg. I personally don't like to do it that way as it make getting on and off the bike more difficult. I also like to put a rubber band around the hose near the top then clip my rectractable lanyard to it then attach the Lanyard to one of my tank Bag zippers
Installation Video